How to Make a DIY Spinner Wheel: A Fun Project for All Ages
Want to make a DIY spinner wheel at home? It’s as easy as it sounds. This is the end of bad feelings – you will feel like a rock star when you make it. Everyone is an artist deep inside.
Whether for educational use in a classroom, a game during a party, or any other form of entertainment, making a spinner wheel will surprise you. It requires a little investment and attention.
All you have to follow some techniques and use the available materials best while having fun. Plus, you can flow your creative juice as you want. Let’s dive into the step-by-step process to make your own spinner wheel!
Table of Contents
Materials You’ll Need
Before starting, gather these materials:
- A sturdy base (like cardboard, foam board, or an old wooden board)
- A spinning mechanism (lazy Susan bearings, fidget spinner, or even a thumbtack)
- A ruler and protractor
- Markers, water paint color, or stickers for decoration
- Scissors or a utility knife
- Glue or adhesive tape
- A pointer (like an arrow or even a paperclip)
- Optional: Clear plastic sheet or lamination material for durability
Step-by-Step Instructions
Step #1: Choose Your Spinner Wheel Base
The base of your spinner wheel should be hard enough to hold up spinning for a long time. A thick cardboard piece or foam board works great as a lightweight and portable option. You can also use plywood or a sturdy plastic sheet to make a durable wheel.
Cut the base into a perfect circle using a compass or a circular object as a guide. You can also take a pre-made circular board (available at most craft stores) making things simpler.
Step #2: Divide the Wheel into Sections
Decide how many sections you’d like on your wheel—this depends on its purpose. For example:
- A 6-section wheel for a classroom activity
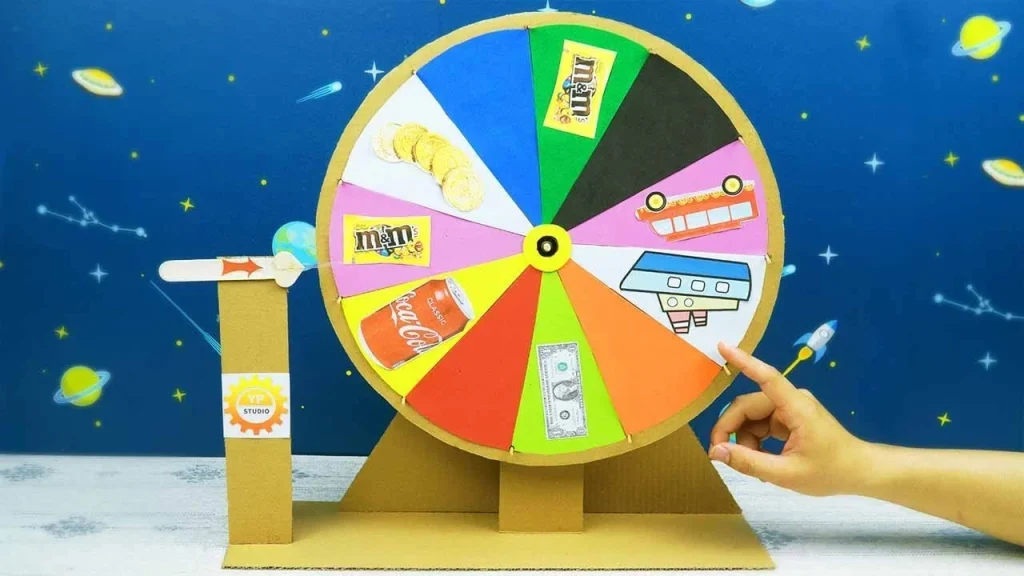
- 8-12 sections for a party game or prize wheel
- 4 sections for quick decision-making
Using a ruler and protractor, divide the circle into equal sections. Mark each section with light pencil lines so you can adjust them if needed.

Step #3: Decorate Each Section
This is where your creativity shines! Assign colors, labels, or themes to each section. For example:
- Use bright colors for a party game.
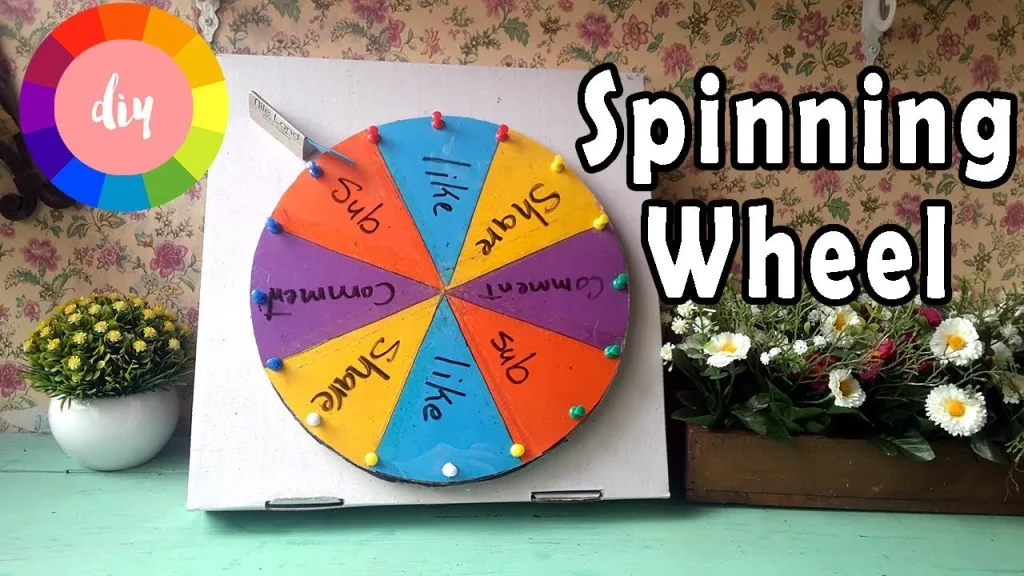
- Add numbers or tasks for a classroom activity.
- Write fun prizes or challenges for a game night.
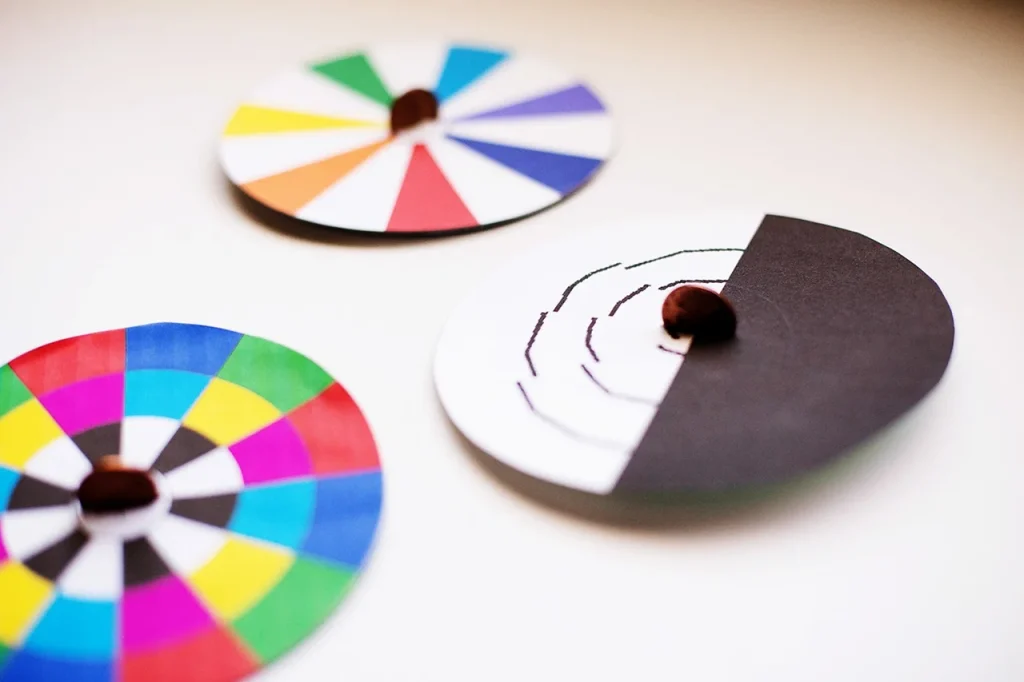
Use markers, paints, or printed labels to make the sections pop. If you’re making a spinner for kids, let them help with coloring and labeling for fun with kids.
Step #4: Create the Spinner Mechanism
The spinner mechanism is what makes the wheel spin smoothly. Here are a few easy options:
- Lazy Susan Bearings: Attach them to the back of the wheel for a professional-grade spin.
- Fidget Spinner: Glue a fidget spinner to the center of the wheel, then use a bolt or screw to secure it to the base.
- Thumbtack Method: Hammer the thumbtack through the center of the wheel and into a stand or base. This works best for lightweight wheels.
Ensure the mechanism is centered perfectly to avoid wobbly spins.
Step #5: Add a Pointer
Every choice wheel spinner needs a pointer to show where it lands. You can make one using:
- A cut-out arrow from cardboard or foam.
- A paperclip that you bend into a pointer shape.
- An old pen cap or small toy for a quirky touch.
Attach the pointer to the base just outside the circle so it can clearly indicate the section when the wheel stops spinning.

Step #6: Test and Adjust
Once assembled, give your spinner wheel a few test spins. If it’s wobbly, check the center alignment of your spinning mechanism. You might also want to secure the pointer more firmly or adjust any loose sections.
Tips for a Perfect Spinner
- Balance is Key: Ensure that the weight of each section is evenly distributed.
- Smooth Edges: Use scissors to trim the edges of your spinner for a clean and professional look.
- Creative Designs: Let your imagination run wild when decorating your spinner.
- Experiment with Shapes: Try different shapes and sizes to create unique spinners.
- Lamination: If you want to use the spinner frequently, laminate the wheel’s surface for extra security.
- Add Glitter or Lights: Make your spinner stand out by adding glitter, LED strips, or glow-in-the-dark paint.

Why Make Your Spinner Wheel?
Not only is this a fun and engaging craft project, but it’s also highly versatile. You can use a DIY spinner wheel for:
- Classroom learning games
- Team-building exercises at work
- Party games and challenges
- Chore assignments at home (yes, even chores can be fun!)
Conclusion
Making a DIY spinner wheel is more than just a craft; it’s an opportunity to bond with kids, family, or students. When they engage in this creative project, they want to spin for the decision-making as soon as they make it.
Plus, you’ll feel a sense of satisfaction watching your creativity come to the table and seeing how much fun people have using it.
So grab your supplies and get spinning! Whether you’re crafting it for fun or functionality, your DIY spinner wheel is sure to be a hit.
